
Step By Step Guide : Sending Emails in Spring Boot

Using the JavaMailSender interface, Spring Boot offers a simple method for sending emails. You may send an email with Gmail transport layer security by utilizing the spring boot restful web API.
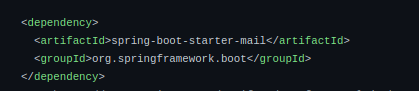
STEP 0: Add the Spring Boot Starter Mail dependency to your project
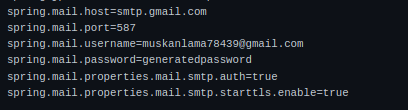
STEP 1: Configuring mail settings in application.properties
In the application.properties file, configure the mail settings. Your email server’s host, port, username, and password are all listed here.
STEP 1.0: Generate spring.mail.password
The general steps to generate a password from Gmail are as follows:
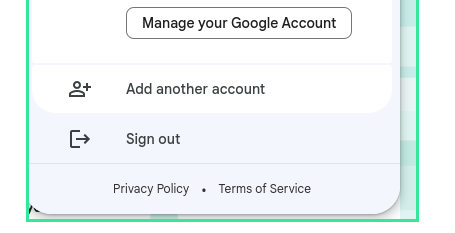
STEP 1.1: Go to Gmail and click Manage your account
STEP 1.2: Go to security and turn on the 2-step verification
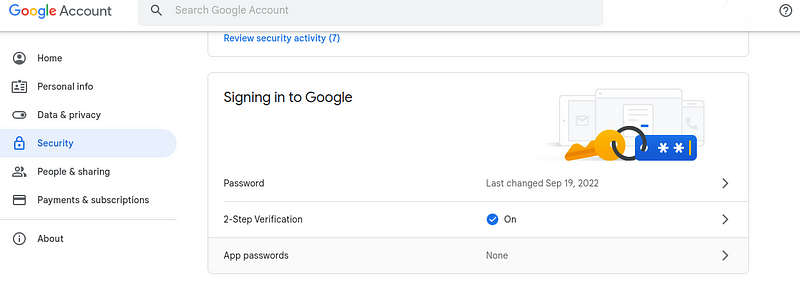
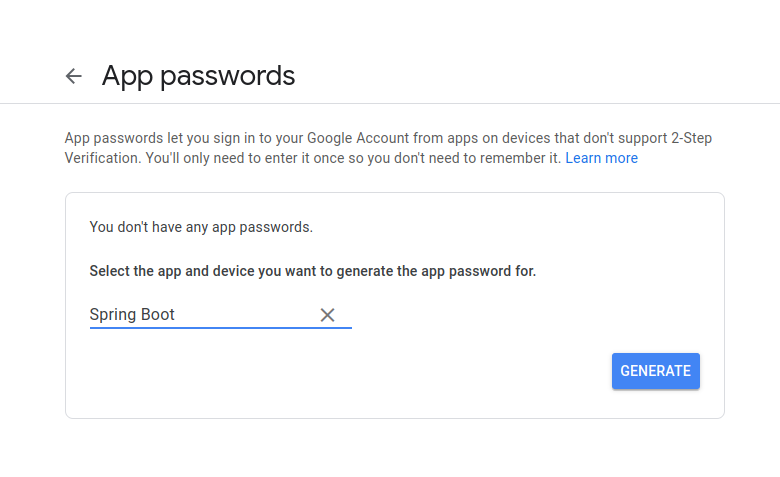
STEP 1.3: Click on App passwords and write your app name to generate the password
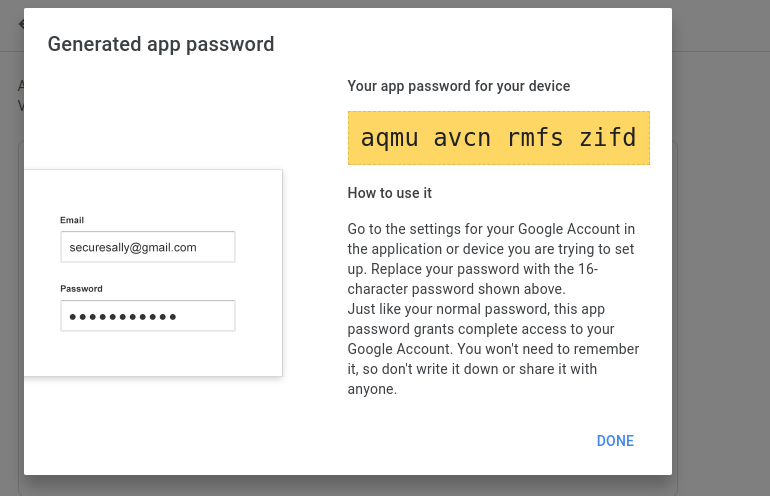
Use this password for spring.mail.password.
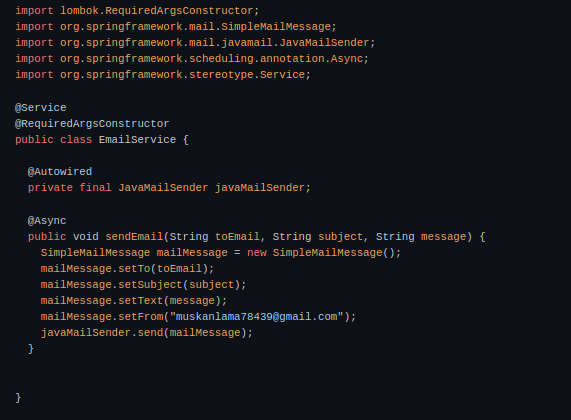
STEP 2: Create a service class and inject the JavaMailSender bean
Use the JavaMailSender to create and send the email using the SimpleMailMessage or MimeMessage classes.
A simple mail message typically consists of the message body, subject line, sender’s, and recipient’s addresses. The format could change depending on the email program or service being used.
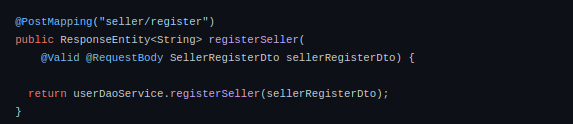
STEP 3: Call the method to send an email to the desired recipient with the desired subject and message body
Autowired the EmailService. Here, I am using the example to trigger an e-mail when a seller gets registered. Set the subject and message as per your need. Email will be entered by the user, or you can set it by yourself.
String Subject = “E-Commerce Application | Seller Account Notification”;

String Email = seller.getEmail();

String Message = “Hi “ + seller.getFirstName() + “, \n Your Seller Account setup completed \n” + “WAIT FOR APPROVAL\n” + seller.getEmail();

emailService.sendEmail(Email, Subject, Message);

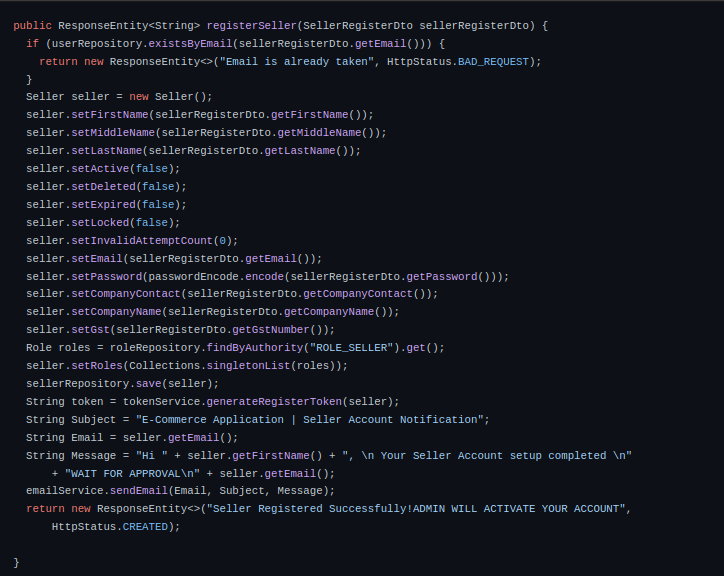
So, as soon as the seller registers himself/herself, this email will be sent to the specified email.
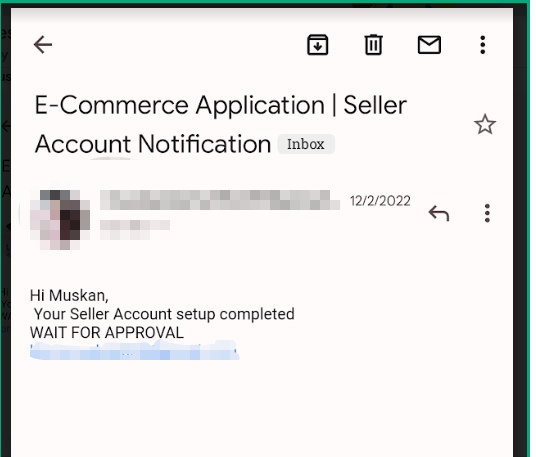
Above is the sample email that will be sent.
Feel free to drop down your questions regarding the topic and do explore other blogs on the same or relevant topics.


