
Containerizing Your Node.js Server with Docker: Using Custom Docker Bridge Network
Introduction: Why Containerization Is Important
In modern software development, containerization has become a standard practice, particularly for Node.js applications and microservices. But why is containerization so valuable?
- Consistency Across Environments: One of the main challenges in development is environment inconsistencies. An application that runs on your local machine might behave differently in production due to different OS versions or missing dependencies. Docker solves this by packaging your application along with all of its dependencies into a container. Whether you’re running the app on your local machine, a cloud server, or a CI/CD pipeline, the container ensures consistent behavior.
- Microservice Architecture: Node.js is popular for building microservices because of its lightweight and asynchronous nature. Containers help deploy, scale, and manage these microservices independently, giving developers the flexibility to develop and deploy features faster without worrying about breaking the entire application.
- Resource Efficiency: Containers are lightweight compared to traditional virtual machines, allowing you to run multiple application services on the same server without consuming excessive resources.
In this blog, we’ll not only containerize a Node.js app, but we’ll also demonstrate how Docker Compose can be used to orchestrate multiple services, making it ideal for microservice architectures.
Read More: Mastering Bitbucket CI/CD: Advanced Techniques and Best Practices For Seamless DevOps
Prerequisites
Docker must be pre-installed on the host machine.
Setting up the project
- We will be using a simple Node Express server for this demonstration. Here is the project file structure for reference
- node-docker-app/
├── src/
│ ├── routes/
│ │ └──route.js
│ ├── controllers/
│ │ └── helloController.js
│ ├──app.js
├── .env
├── .dockerignore
├── Dockerfile
├── package.json
└── package-lock.json
1. Setting Up the NodeJS Server:
- We’ll start by creating a simple Node.js API, then we’ll containerize it with Docker and run it alongside a Redis service using Docker Compose.
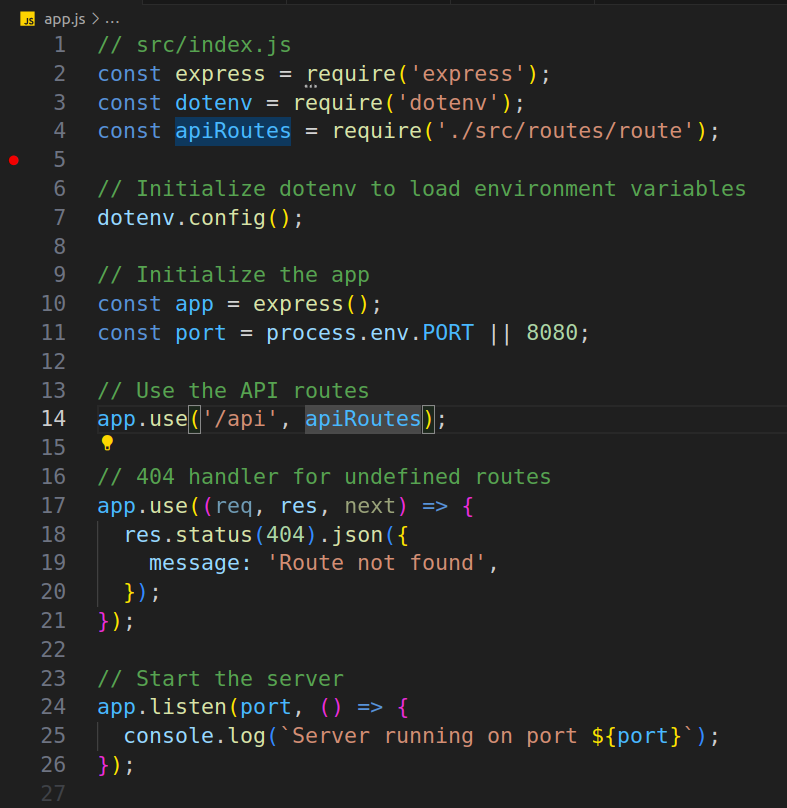
App.js
2. Setting up the routes and controller:
- Routes files
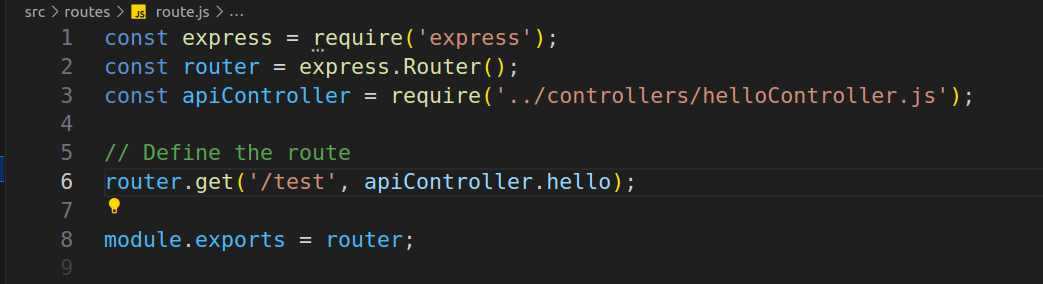
Routes File
- Let’s create a simple greet API that returns a Hello message from a Redis store.
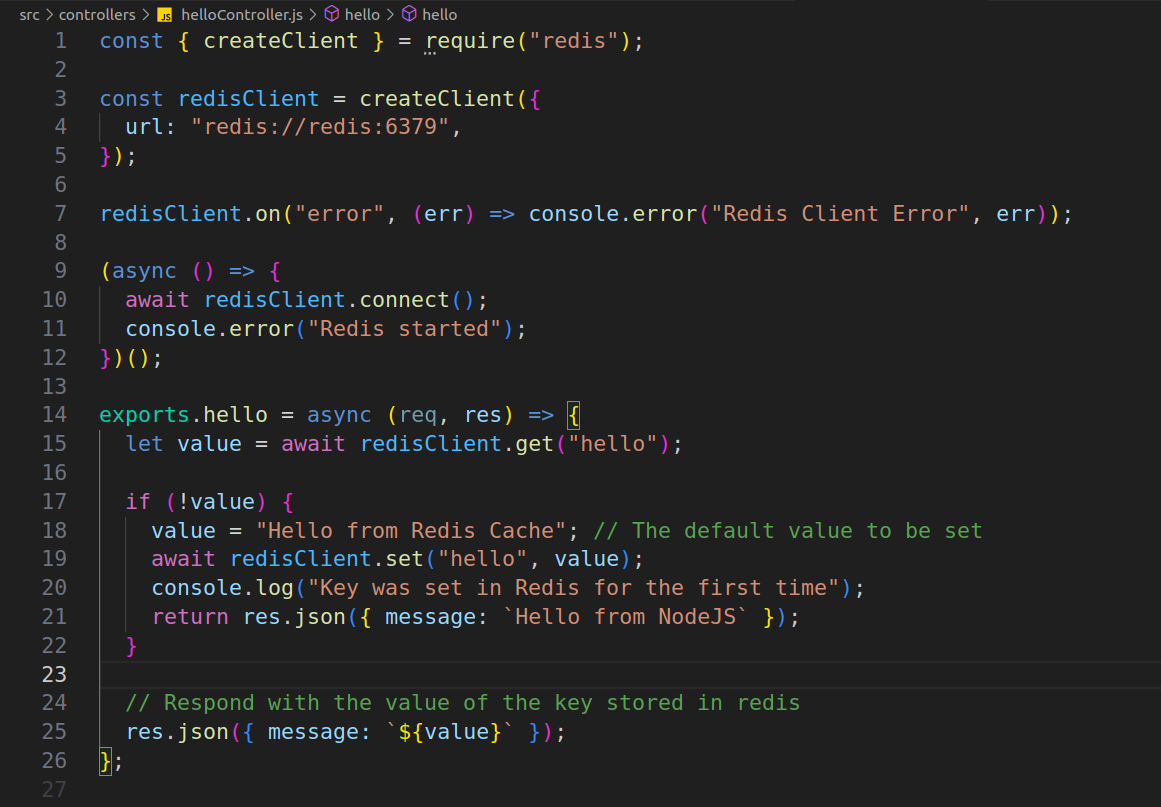
Controller.js
3. Adding script in pakage.json:
- Add “dev”: “node app.js” in the scripts so that we can start our application in development mode
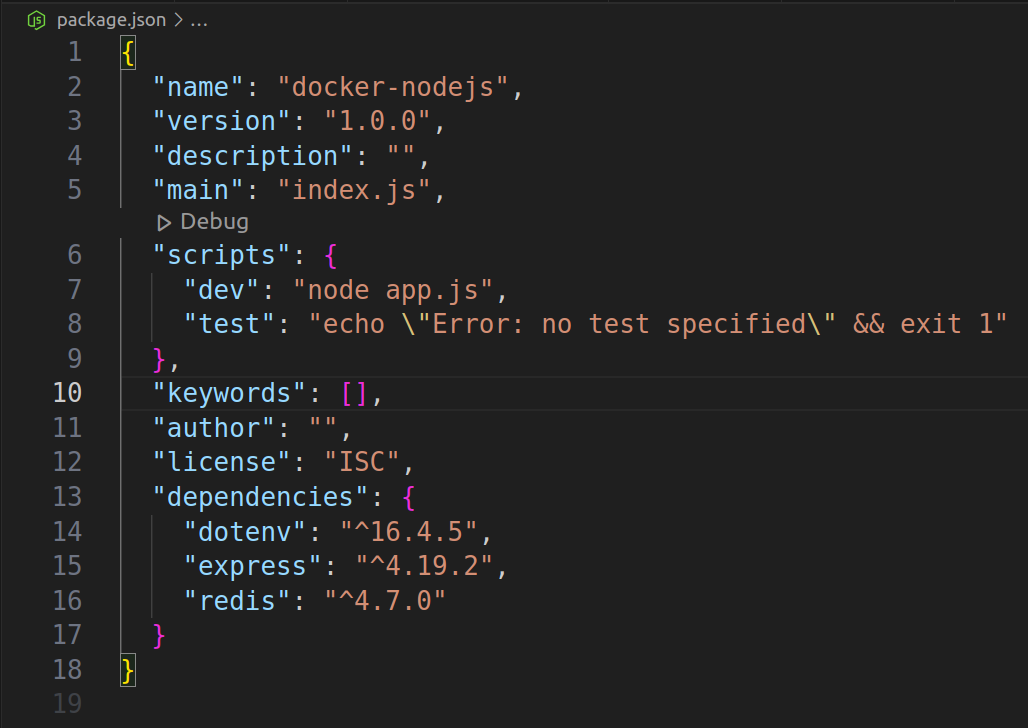
package.json
4. Create the Dockerfile:
- A Dockerfile is a text file containing instructions for building your source code
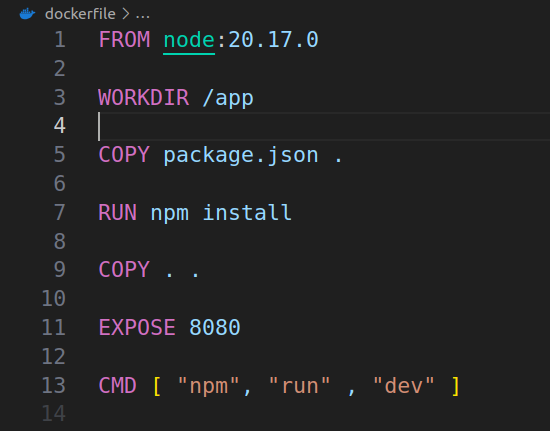
Dockerfile
Explanation of Docker Commands:
- FROM node:18: Specifies the base image that contains Node.js. It ensures that our application will run in an environment where Node.js is already installed.
- WORKDIR /usr/src/app: Sets the working directory inside the container. This ensures that all commands (like copying files or running npm install) are executed relative to this directory.
- COPY package*.json ./: Copies the package files from your local machine to the container. This helps install dependencies without copying the entire codebase, reducing build time.
- RUN npm install: Installs all dependencies listed in the package.json file.
- COPY . . : Copies the entire application code from your local machine into the container.
- EXPOSE 8000: Tells Docker which port the container will use to communicate with the outside world. In this case, the NodeJs server listens on port 8080.
- CMD [“npm”, “run”, “dev”]: Specifies the command to run the Node.js application when the container starts.
5. Setting up Docker Compose file configuration using a custom network:
- Create a docker-compose.yml file
- Now, let’s add another service to make Docker Compose more meaningful. We’ll use Redis to store our response message.
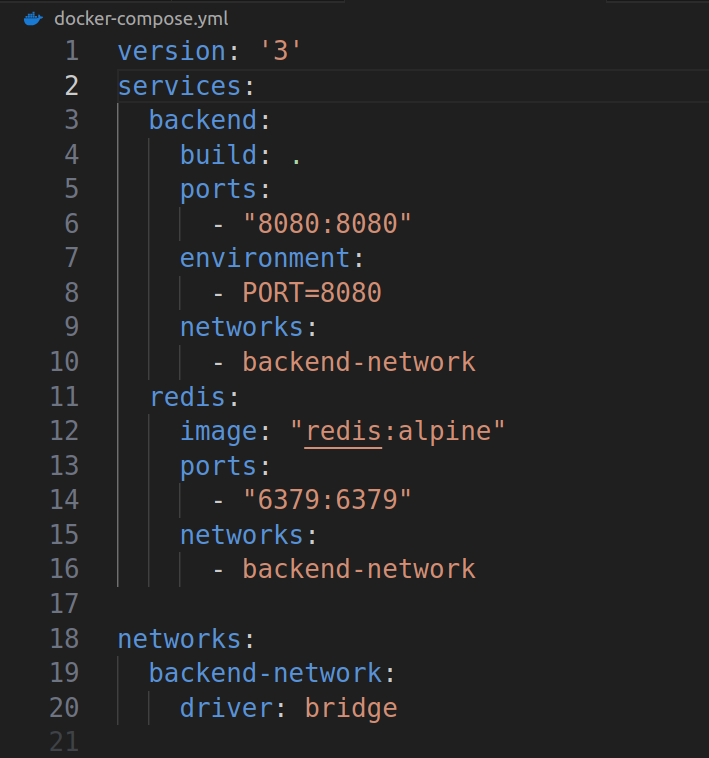
Docker-compose.yml
Compose simplifies the control of your entire application stack, making it easy to manage services, networks, and volumes in a single, comprehensible YAML configuration file. Then, with a single command, you create and start all the services from your configuration file
Explanation of docker-compose.yml:
version: ‘3’: Specifies the version of the Docker Compose file format.
Services:
- backend: The service name for the Node.js app.
- build: Tells Docker Compose to build the image for the Node.js app from the current directory using the Dockerfile.
- ports: “8080:8080”: Maps port 8080 on your host machine to port 8080 in the container, where the Node.js app is running.
- environment: Sets environment variables for the container. Here, we’re defining the port on which the Node.js app will run.
- networks: backend-network: Connects this service to the custom network backend-network.
- redis: The service name for Redis.
- image: “redis:alpine”: Uses the official Redis image with a small Alpine Linux base.
- ports: “6379:6379”: Maps port 6379 on your host machine to Redis’s default port 6379 inside the container.
- networks: backend-network: Connects this Redis service to the same custom network as the Node.js service.
Networks:
- backend-network: Defines a custom Docker bridge network for the backend and Redis services to communicate with each other. The bridge driver is the default for isolated networking in Docker.
Custom Docker bridge networks keep your containers separate from each other and from other networks on your Docker host. This means containers on different networks can’t talk to each other directly, which helps improve security and avoid conflicts.”As you can see, we are mapping the Docker container port to the host port on 8080 and using a Docker custom bridge network to make our container completely isolated.
6. To run the containerization process:
- Ensure Docker is Running: sudo systemctl start docker
- To check the docker status run: sudo systemctl status docker
- Now start the docker-compose using the command: docker-compose up
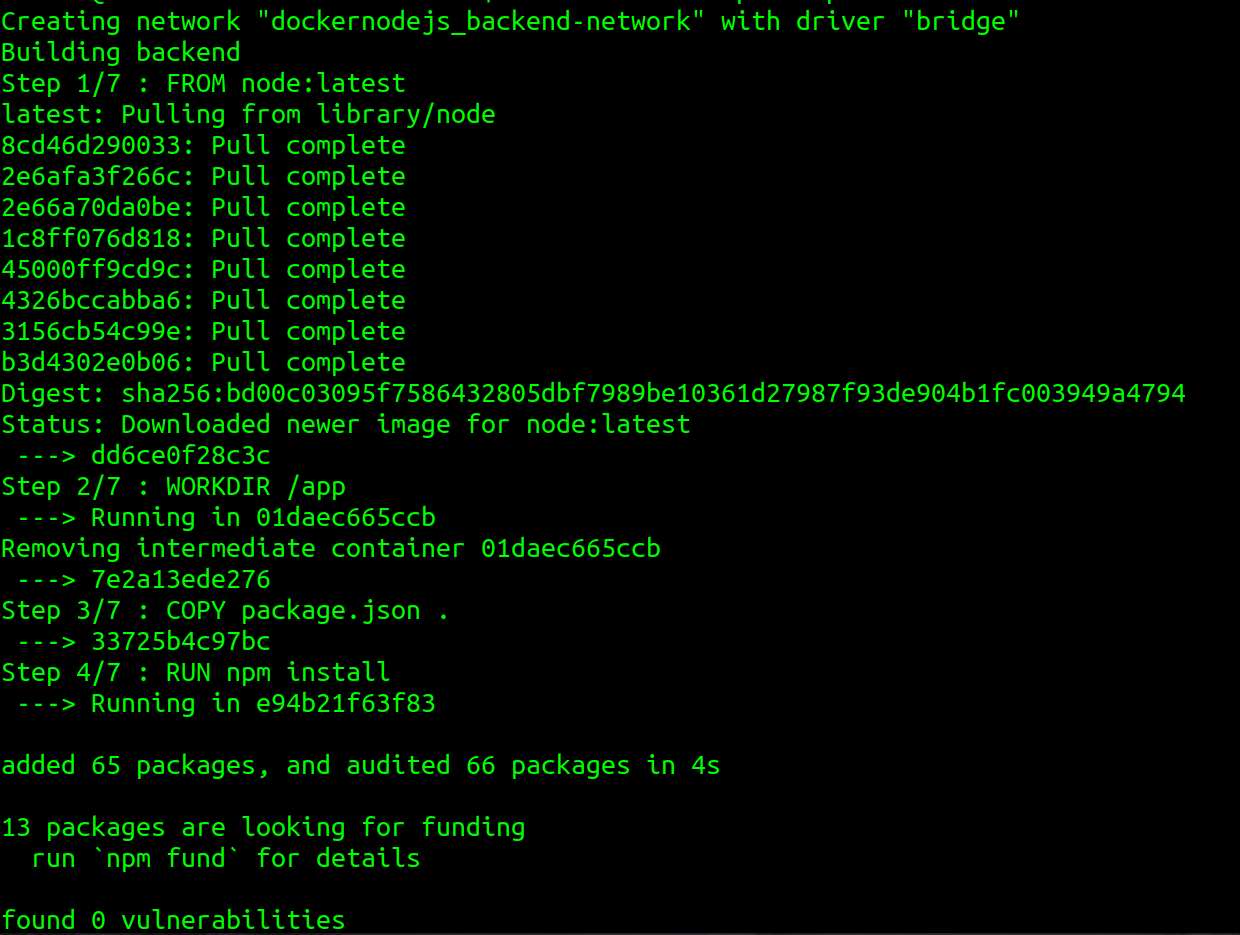
Docker compose running
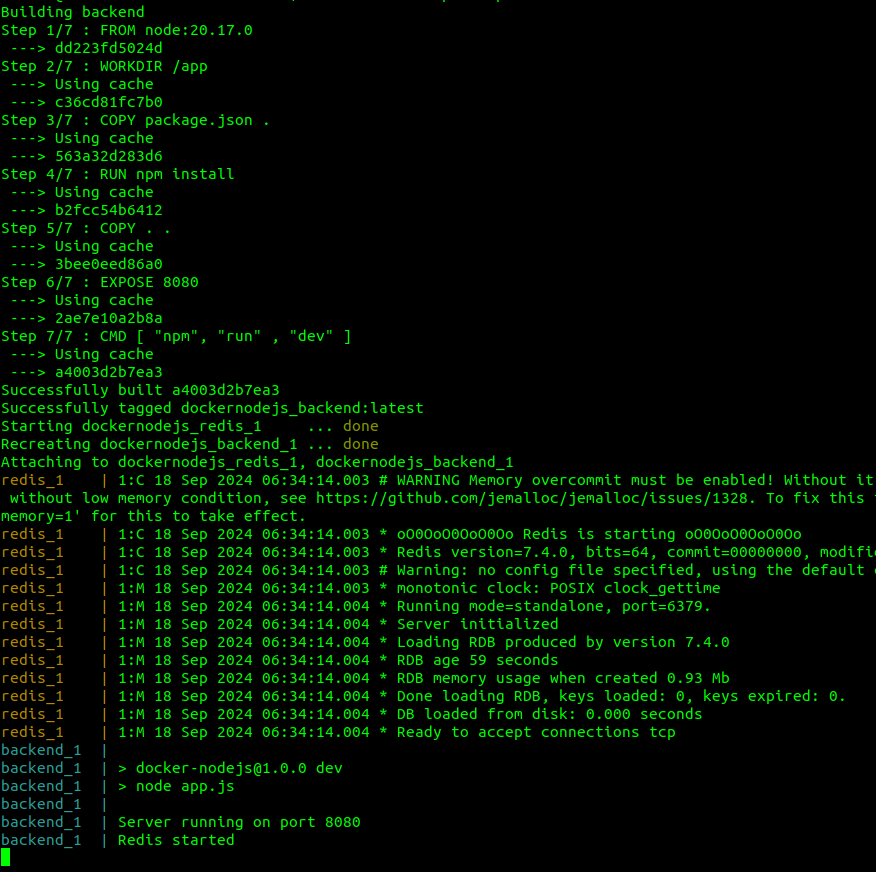
Docker compose cmd running
As you can see, the NodeJs server with Redis has started successfully.
7. Testing the server endpoint:
- To test if our backend server has started, we can send an HTTP request to: localhost:8080/api/test
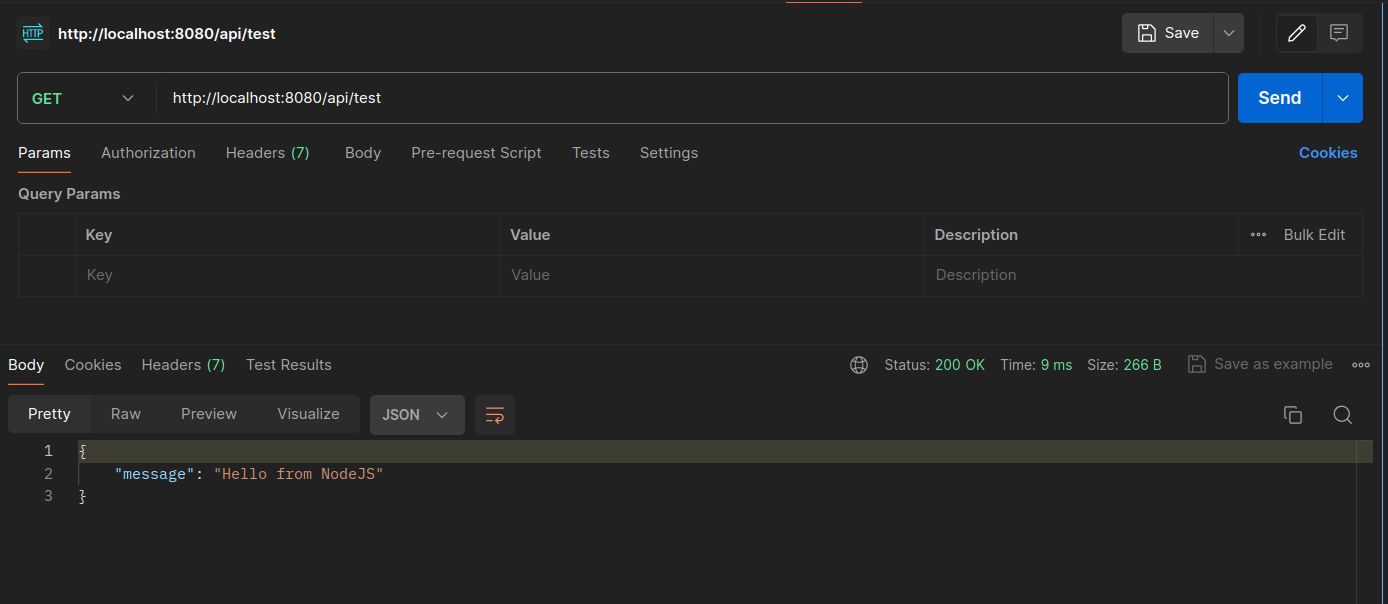
server response
In the first request, as you can see in the request body, we are getting the message: “Hello from NodeJS”
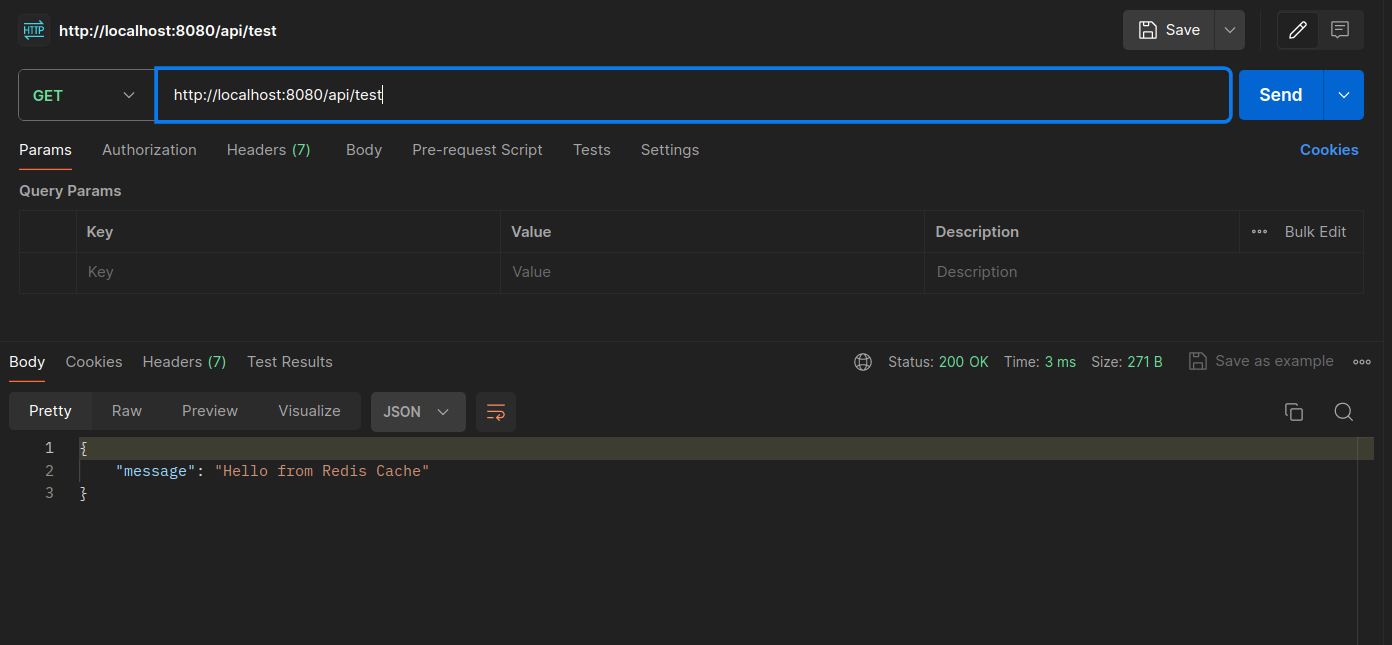
server redis response
In the second request, as you can see in the request body, we are getting the message: “Hello from Redis Cache”
Conclusion
Congratulations! We have now successfully set up our containerized Node.js server with Redis using a custom Docker bridge network for improved service communication. We’ve walked through setting up a Dockerfile, creating a Docker Compose configuration, and defining a custom network, ensuring that your Node.js application is well-organized, scalable, and deployable across different environments.
If you’re looking for expert help in Web development, check out how our Data Engineering service can help your projects.
