
A Simple Guide to Setting Up a Local Drupal Development Environment with DDEV
DDEV + Drupal
Introduction
If you’re new to Drupal development or looking to streamline your local development workflow, DDEV offers an efficient and straightforward way to set up a Drupal environment on your computer. DDEV, built on Docker, simplifies the process of creating isolated, consistent development environments, ensuring that your local setup mirrors your production environment as closely as possible. This guide will walk you through the steps to get started with Drupal using DDEV, covering everything from installation and configuration to deploying your Drupal site locally. By the end of this guide, you’ll have a fully functional Drupal development environment ready to use for learning, testing, or building new projects.
What you’ll learn
- How to install and set up DDEV for a Drupal project
- How to use DDEV’s built-in Composer tool to download Drupal and Drush
- How to install Drupal inside DDEV so you can start building your site
- By the end of this guide, you’ll have a local Drupal environment ready for learning or working on new projects
Goal
Learn how to get Drupal running on your local machine using DDEV.
Prerequisites
- Basic familiarity with using a command-line terminal. (If you’re not comfortable with this yet, you’ll get some practice in this guide.)
- Docker Alternatives: DDEV is based on Docker, a tool for creating isolated environments on your computer. The easiest way to install Docker is through the Docker Desktop edition for your operating system. DDEV also works with Docker alternatives like Colima, which is specifically for macOS and Linux users who want an alternative to Docker Desktop.
- To install DDEV, follow the DDEV installation documentation.
- Once installed, run ddev debug in your terminal to check the status and troubleshoot issues as needed. Refer to the DDEV troubleshooting guide for more information.
Step 1: Create a Directory and Configure DDEV
First, create a new folder on your computer where you want your Drupal project to be stored. Then, navigate to this folder using your command-line terminal.
For example, let’s create a folder called my-site and configure DDEV:
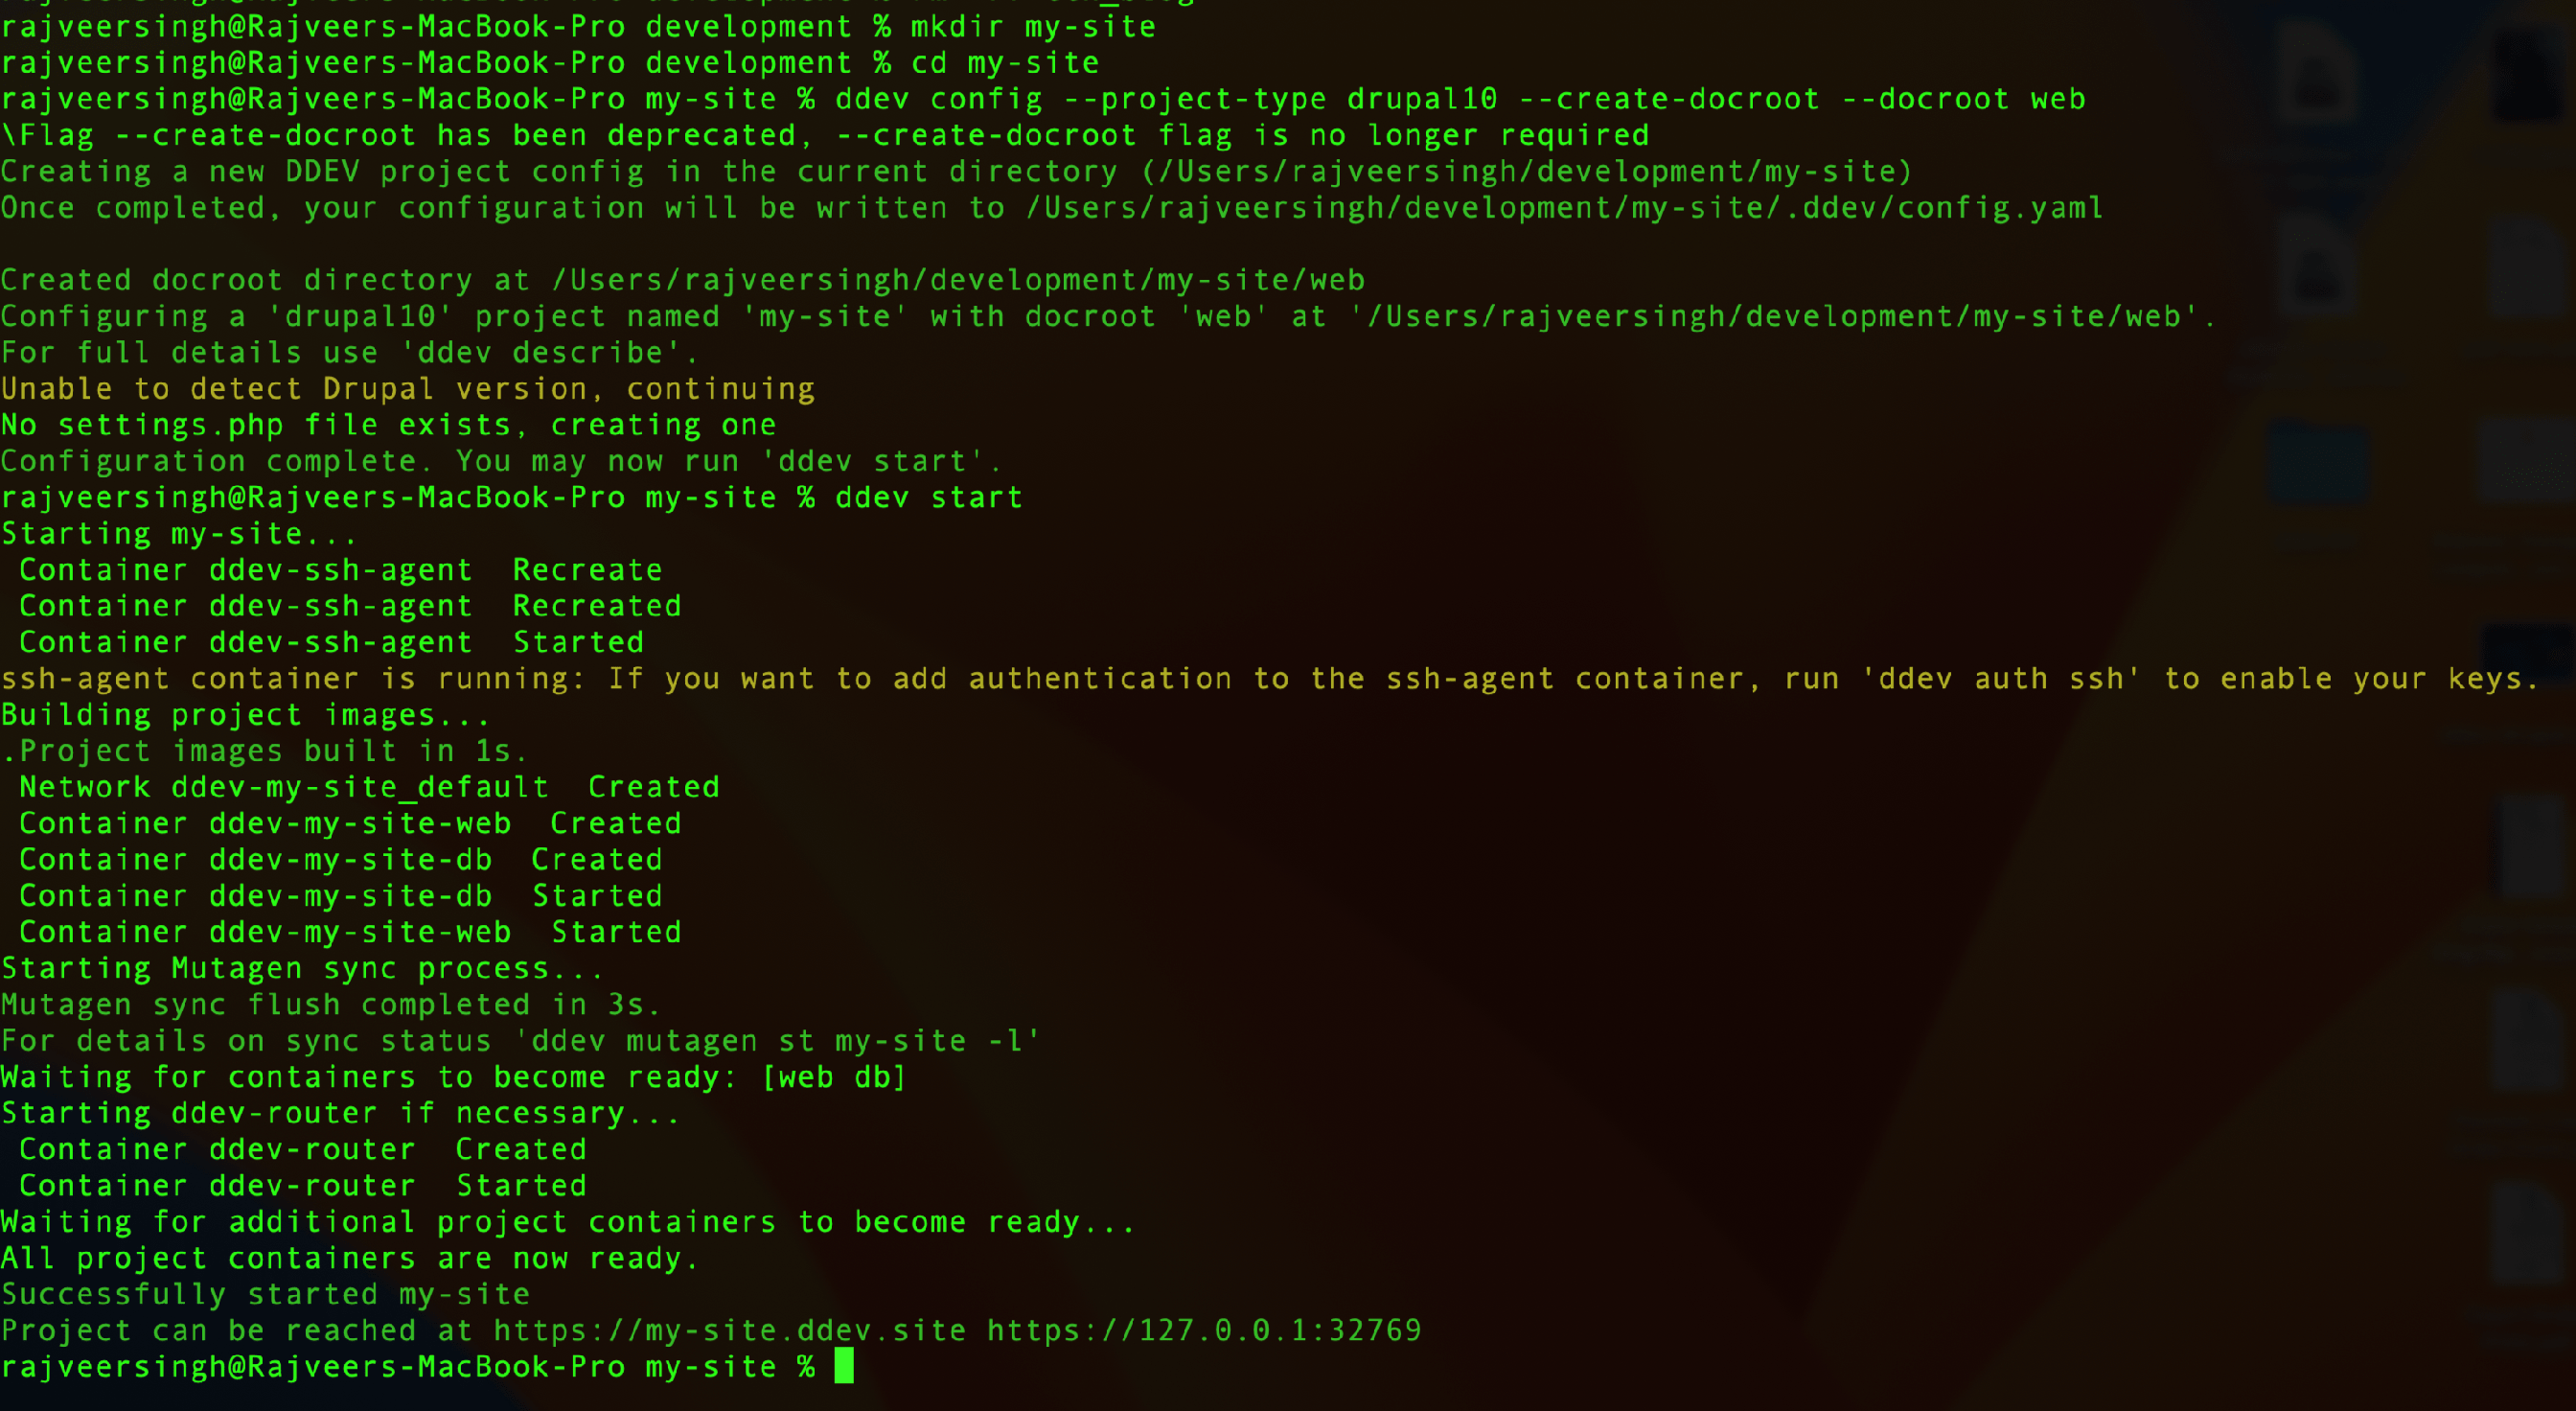
mkdir my-site
cd my-site
ddev config --project-type drupal10 --create-docroot --docroot web
These commands create a new DDEV project configured for Drupal, storing all the setup files in a new .ddev subdirectory. The project will be named after your folder (in this case, my-site).
Note: You can change the configuration, such as the Drupal version or docroot location, as needed.
Step 2: Start DDEV
Next, start the DDEV container with the following command:
ddev startThis will launch a web server and a database server. DDEV is now ready to help you install Drupal using Composer, a tool that manages Drupal’s code dependencies.
Step 3: Install Drupal with Composer
Now, use Composer within DDEV to install Drupal:
ddev composer create drupal/recommended-project -yThis command downloads Drupal into your current folder. Using Composer within DDEV ensures that your environment is consistent, even if your local PHP version differs from DDEV’s.
Step 4: Install Drupal (Using Drush)
You can now launch your Drupal site by running:
ddev launchThis will open the Drupal installation page in your web browser. You have two options:
- Use the interactive installer in your browser.
- Use Drush, a command-line tool, to install Drupal (recommended).
First, install Drush using Composer:
ddev composer require --dev drush/drushThen, use Drush to install Drupal:
ddev drush site:install --account-name=admin --account-pass=admin -yThis command installs Drupal and sets up an admin account with the username admin and the password admin.
Step 5: Install Development Tools
If you’re going to do custom code development or work on contributed modules, it’s a good idea to install some additional tools:
ddev composer require --dev drupal/core-devThis command installs tools like phpcs (for checking code standards) and phpunit (for running unit tests).
A Simple Guide to Setting Up a Local Drupal Development Environment with DDEV
Here are some more useful DDEV commands:
- ddev import-db –file=”filename” or ddev import-db < “filename”: Import a database file.
- ddev phpmyadmin: Set up phpMyAdmin for managing your database.
- ddev describe: Get the URL of your site.
- ddev stop: Stop the DDEV environment.
- ddev mysql: Manage the database directly.
Step 6: Log in to Your New Drupal Site
Finally, launch your new Drupal site by running:
ddev launchIf you need to log in as the admin user, you can generate a one-time login link with:
ddev drush uliAt any time, you can run ddev describe to see the URL of your site. Simply copy and paste the URL into your browser to visit it.
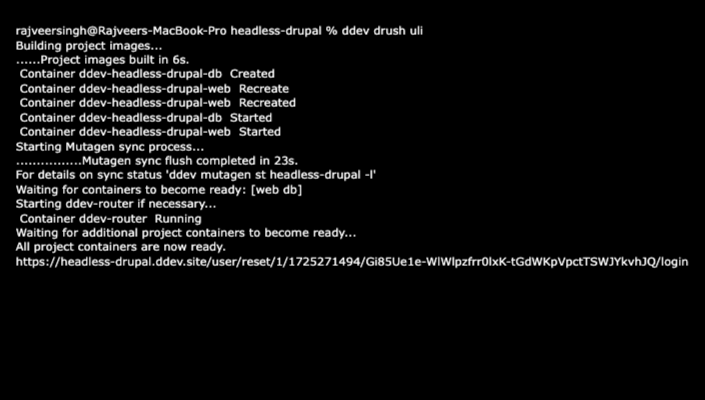
ddev drush uli
Conclusion
Now you have a local Drupal site up and running with DDEV! You can use this setup to learn Drupal or start working on new projects. DDEV makes managing your development environment easier, so you can focus on building your site. Happy coding!
