A Comprehensive Guide to Flutter In-App Localization
Introduction
In today’s global app market, reaching a diverse audience is crucial for the success of your app. Localization enables your app to support multiple languages and cultural preferences, offering a personalized experience to users worldwide. Flutter, with its robust support for localization, makes it relatively easy to internationalize your app.
In this blog, we’ll explore the steps needed to implement in-app localization in Flutter, making your app accessible to users in different languages.
What is Localization?
Localization is the process of adapting your app to meet the language and cultural needs of a specific region. This includes translating text, formatting dates and numbers, and considering cultural nuances. Flutter’s localization mechanism works in tandem with the intl package, providing a comprehensive solution for globalizing your app.
Getting Started with Localization in Flutter
1. Setting Up the Project
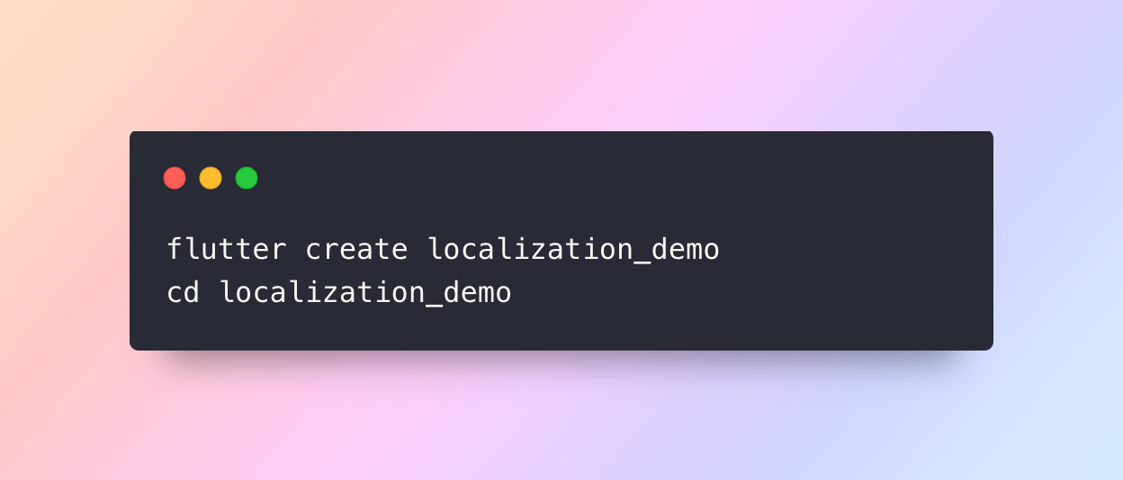
- To begin, ensure that you have Flutter installed and your environment set up. Create a new Flutter project using the following command:
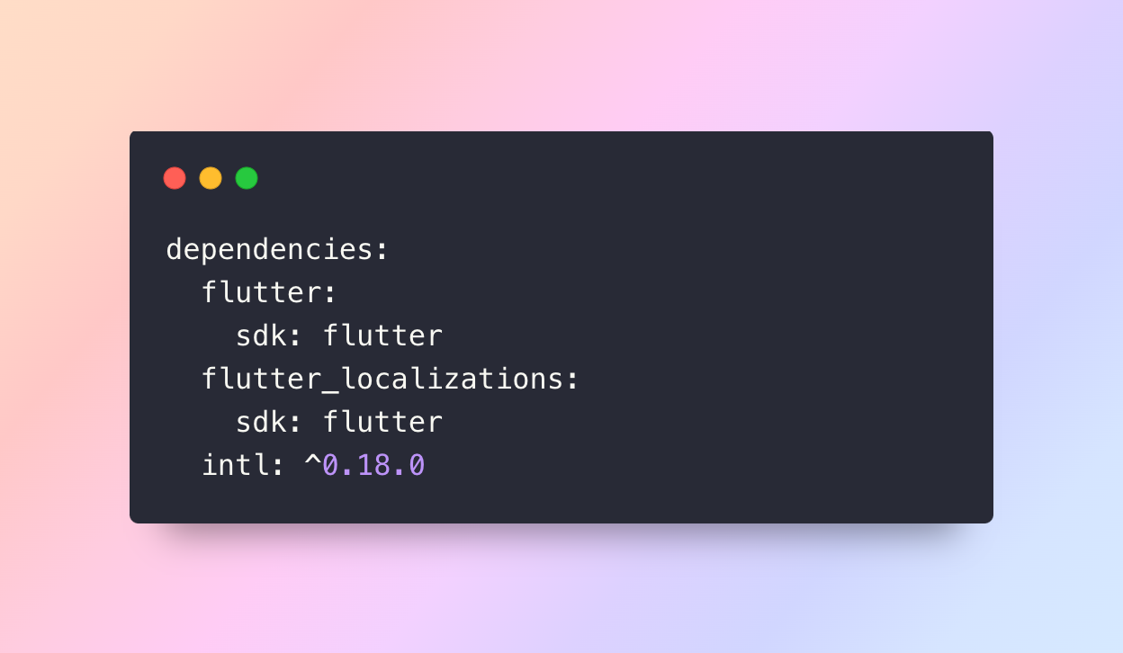
- Open your pubspec.yaml file and add the flutter_localizations package, which provides localizations for Flutter’s built-in widgets, and the intl package for handling translations.
- Run flutter pub get to fetch the packages.
2. Configuring the MaterialApp
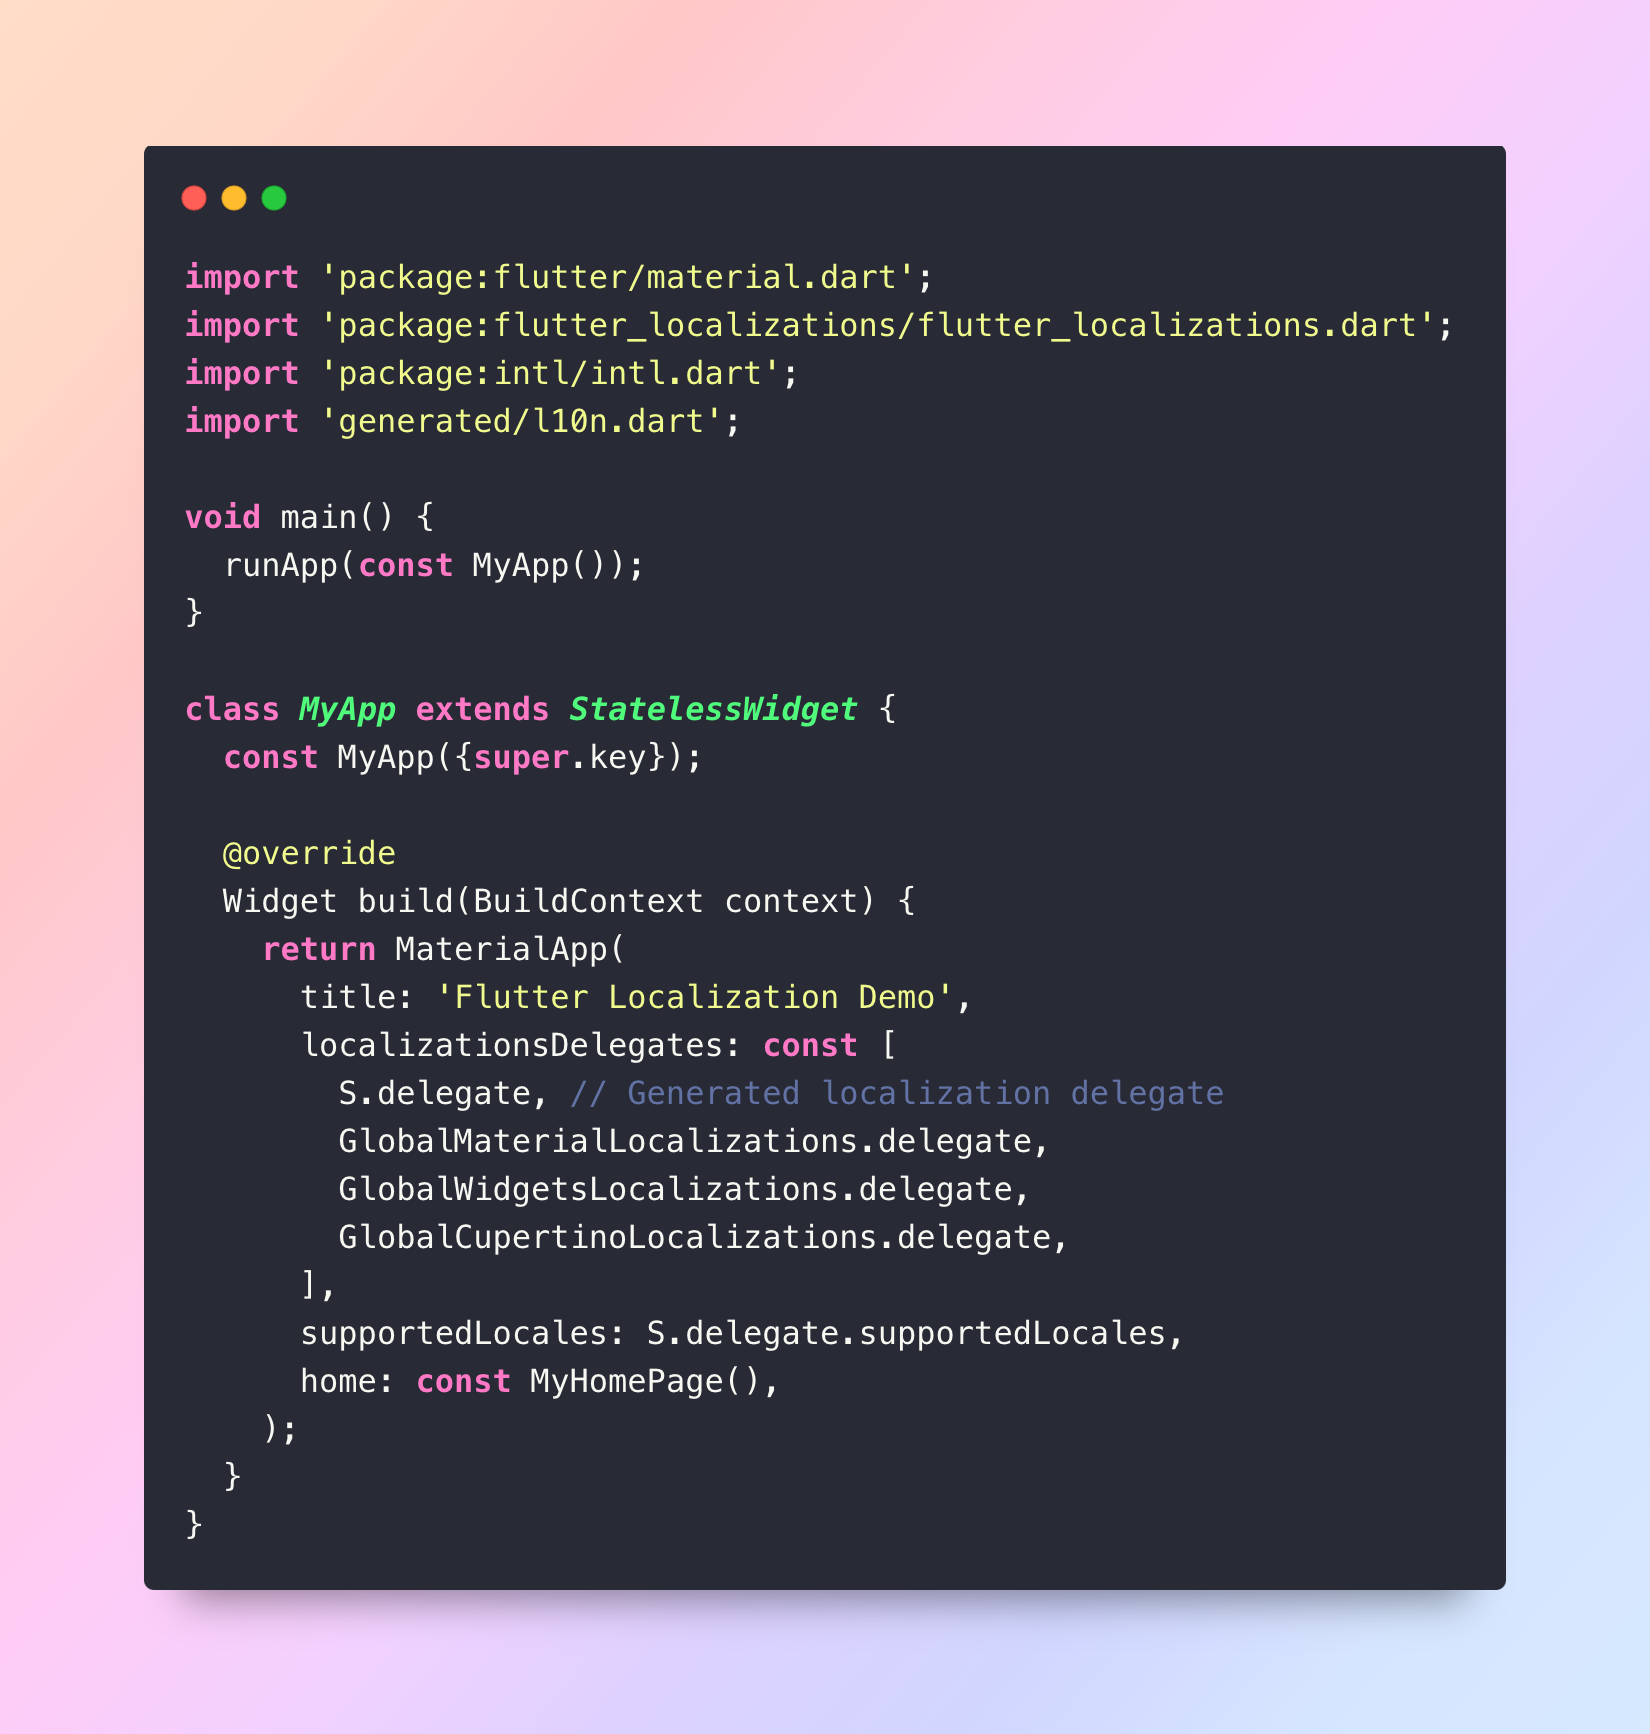
- Next, configure your MaterialApp to support localization. Open lib/main.dart and modify the code as follows:
3. Generating the Localization Files
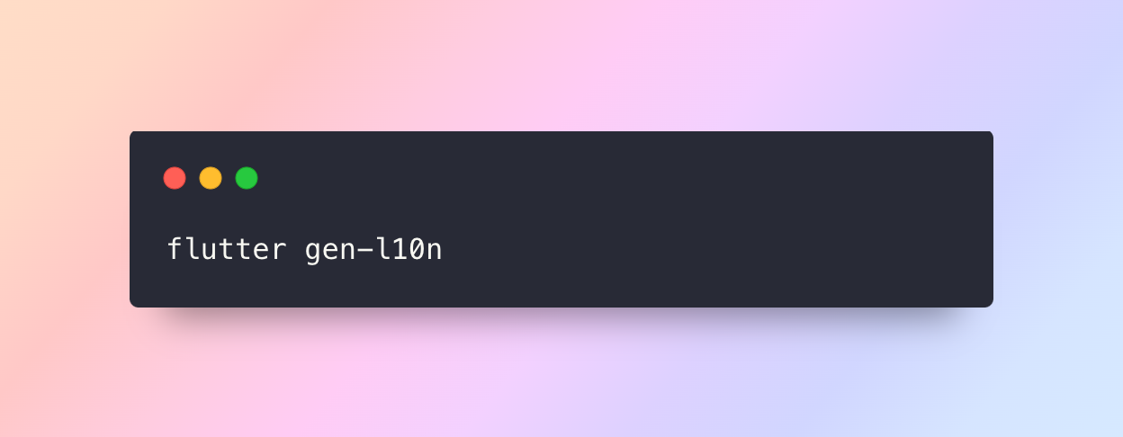
- Flutter uses the ARB (Application Resource Bundle) format for managing localization resources. To generate the necessary files, run the following command:
- This generates the l10n folder containing intl_en.arb and intl_<language_code>.arb files. These files store key-value pairs for translated strings.
4. Adding Translations
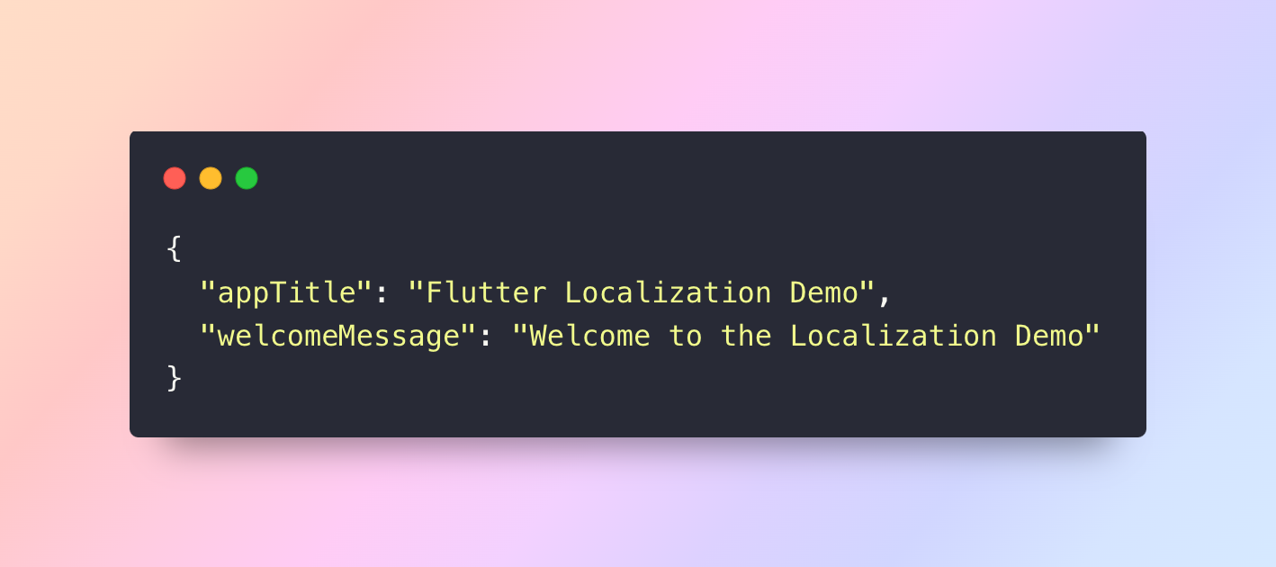
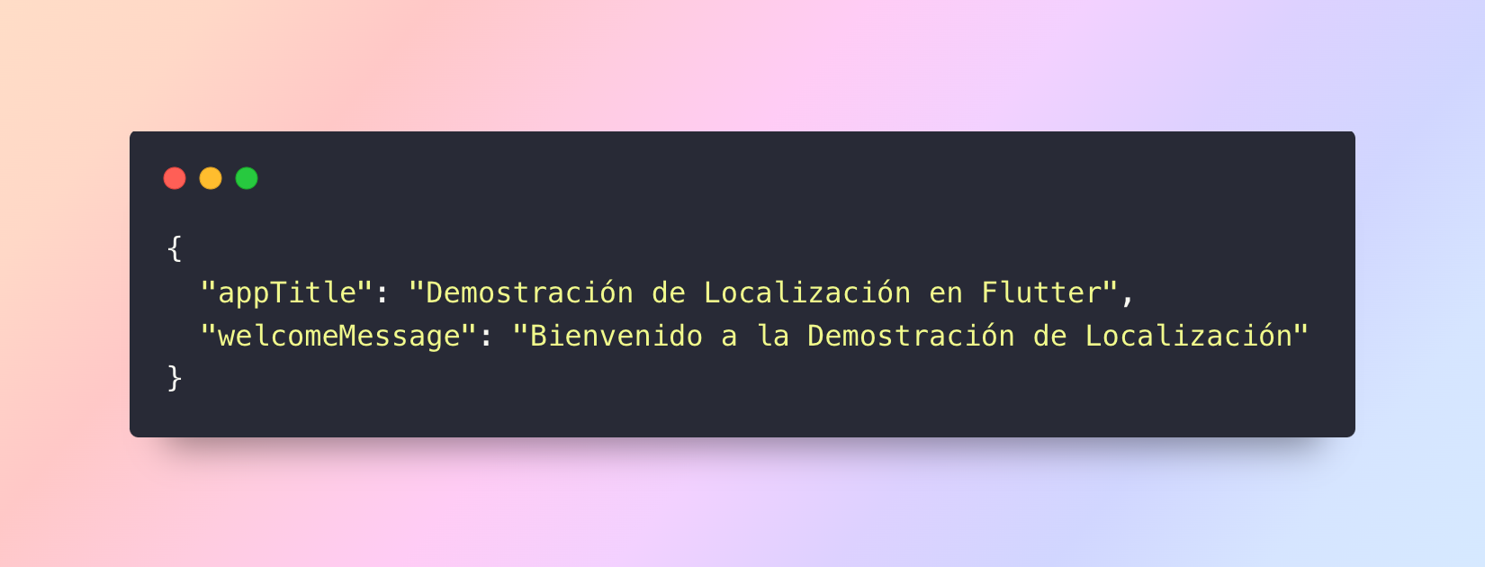
- Let’s add translations for English (intl_en.arb) and Spanish (intl_es.arb). Open intl_en.arb and intl_es.arb and add the following content:
intl_en.arb:
intl_es.arb:
5. Using the Translations in Your App
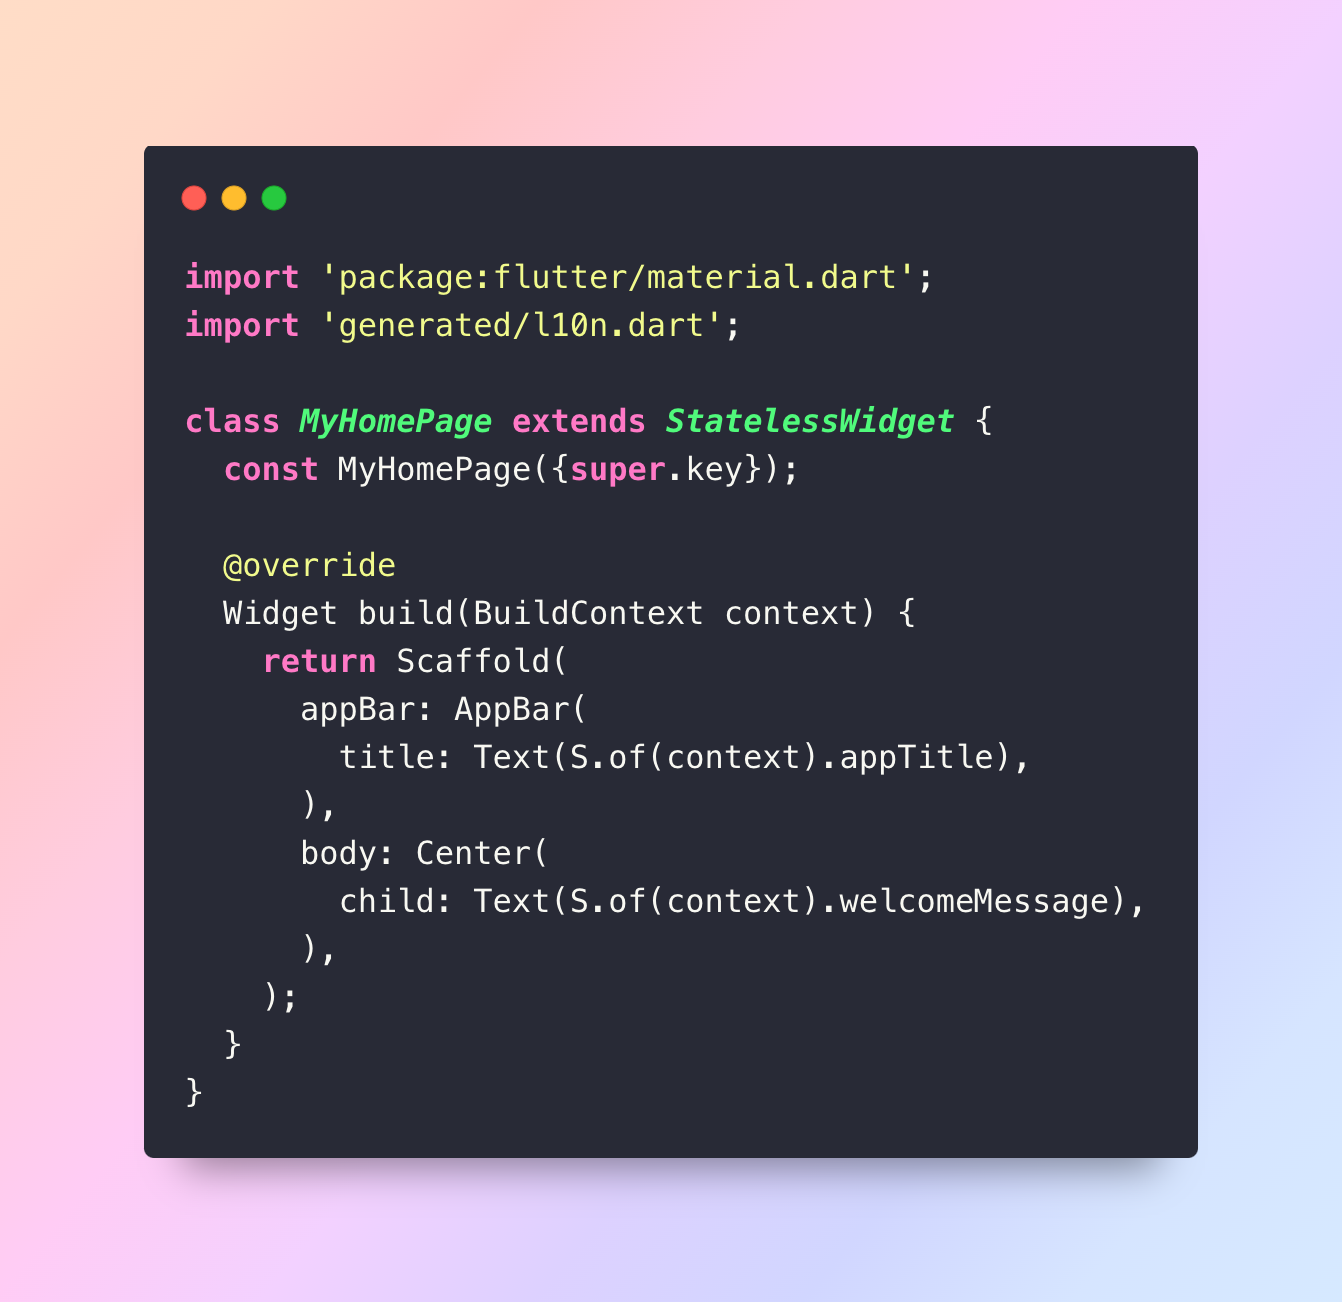
- Now, update lib/main.dart to use the localized strings:
- The S class, generated by the flutter gen-l10n command, contains the localized strings. You can access these using S.of(context).<string_key>.
6. Switching Languages
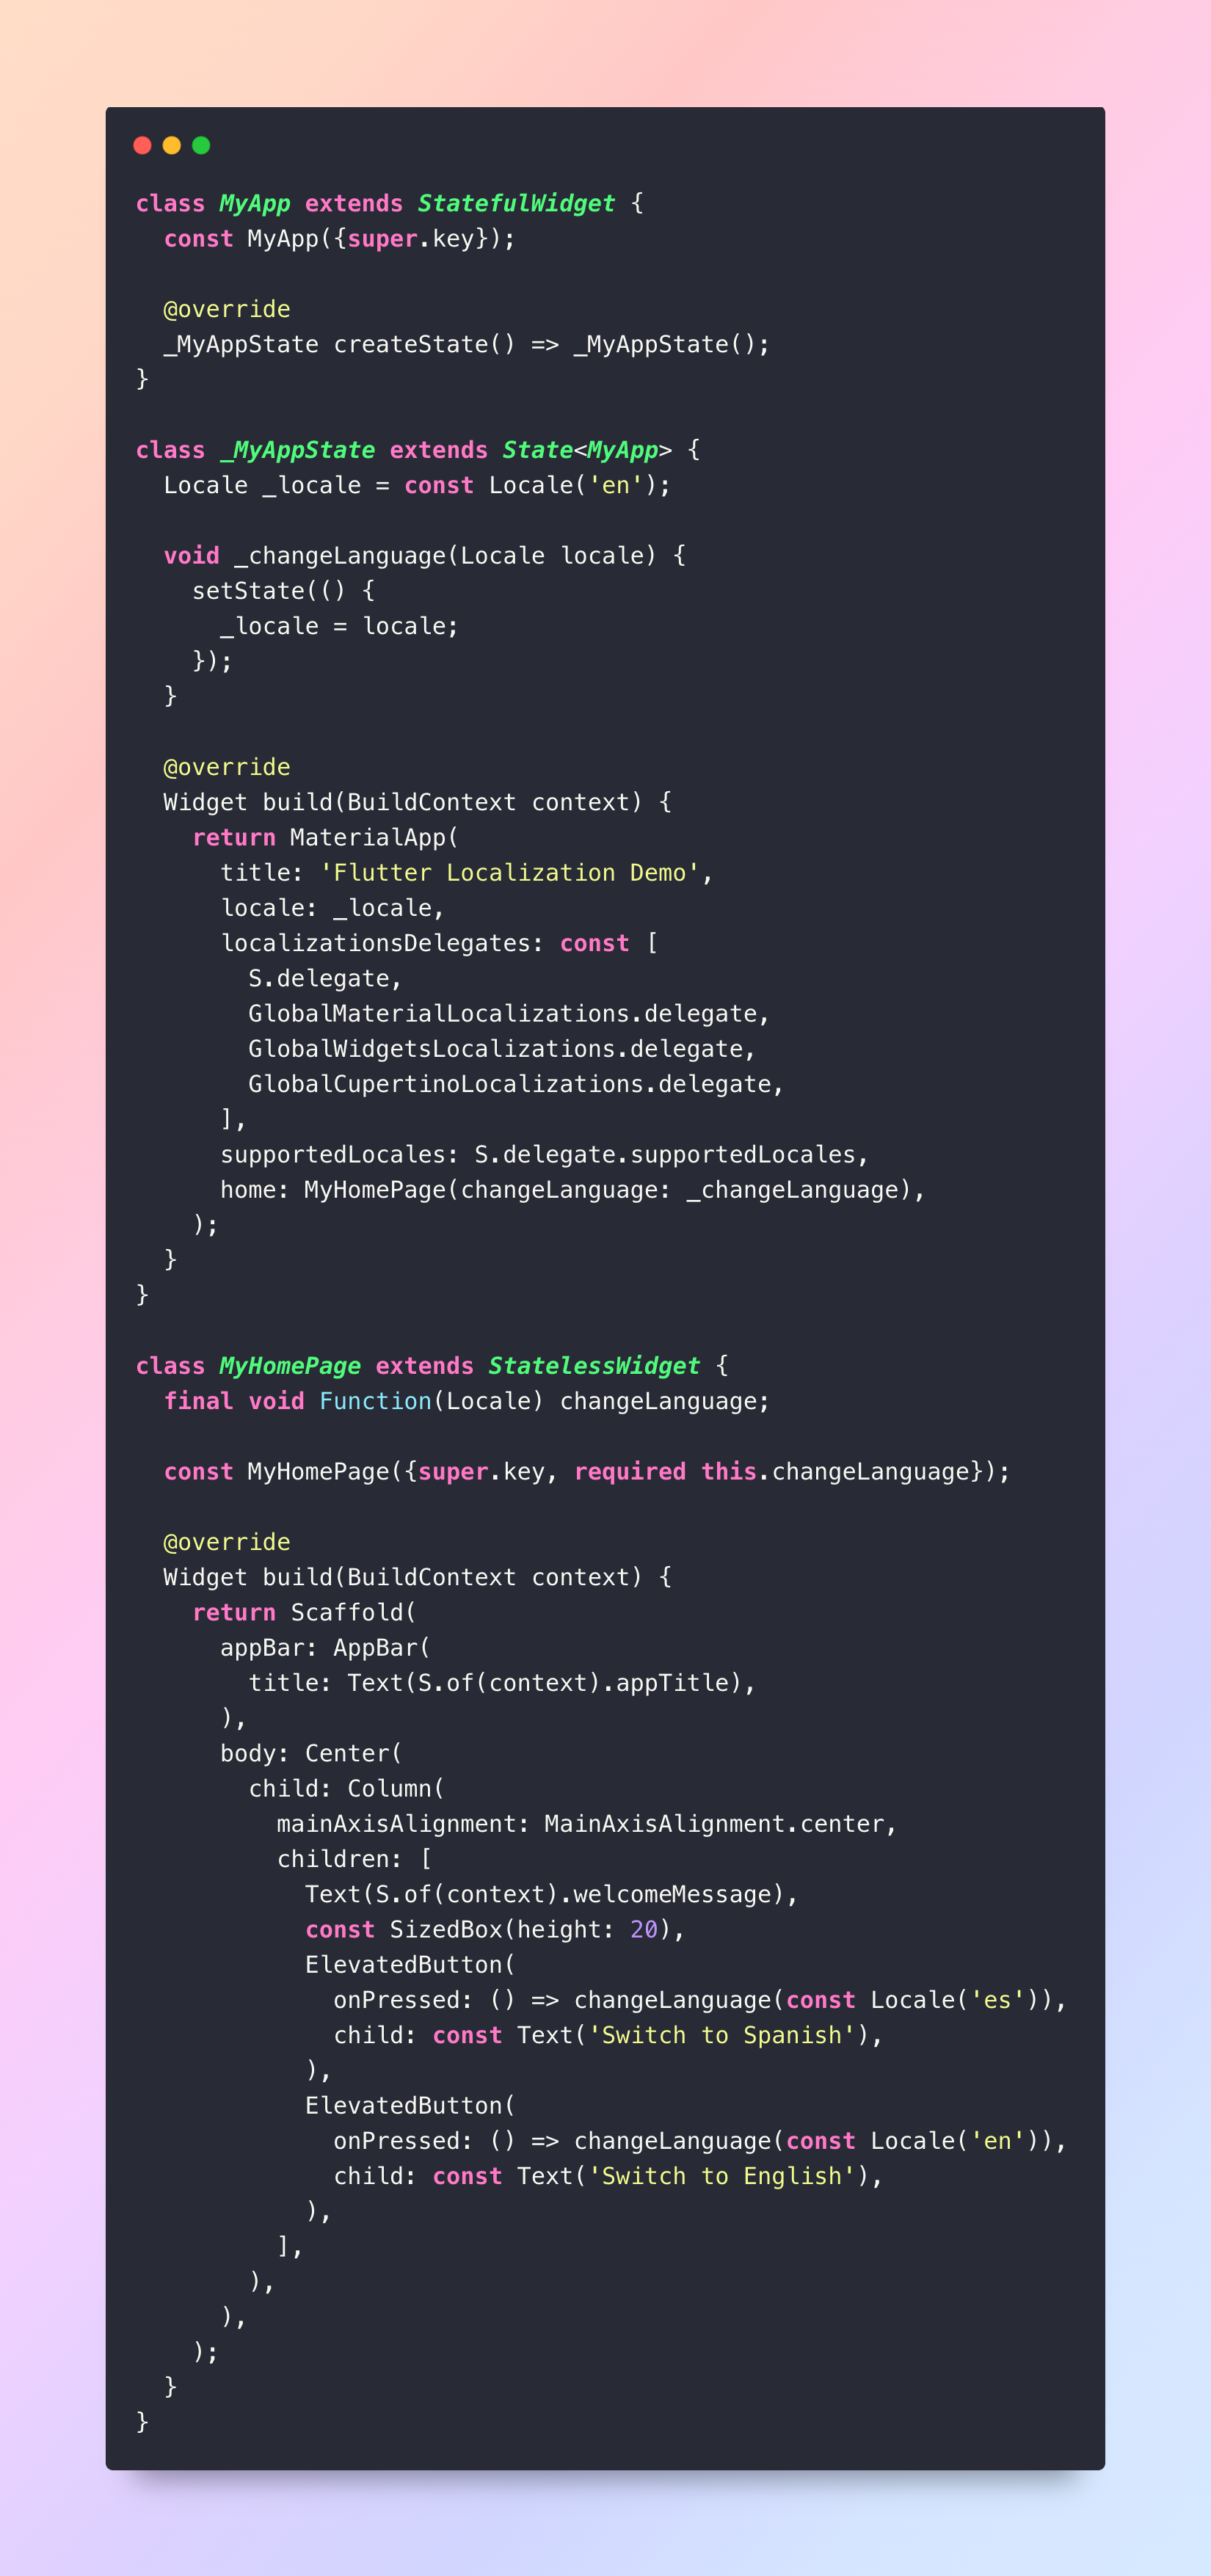
- To allow users to switch languages at runtime, you can set the locale property of the MaterialApp. Here’s how:
7. Steps to Reflect System Language Preference in Your App
- Remove the hard coded locale property in your MaterialApp and let Flutter handle the locale based on the user’s system settings.
- Make sure the intl_<language_code>.arb files include translations for all the languages you wish to support.
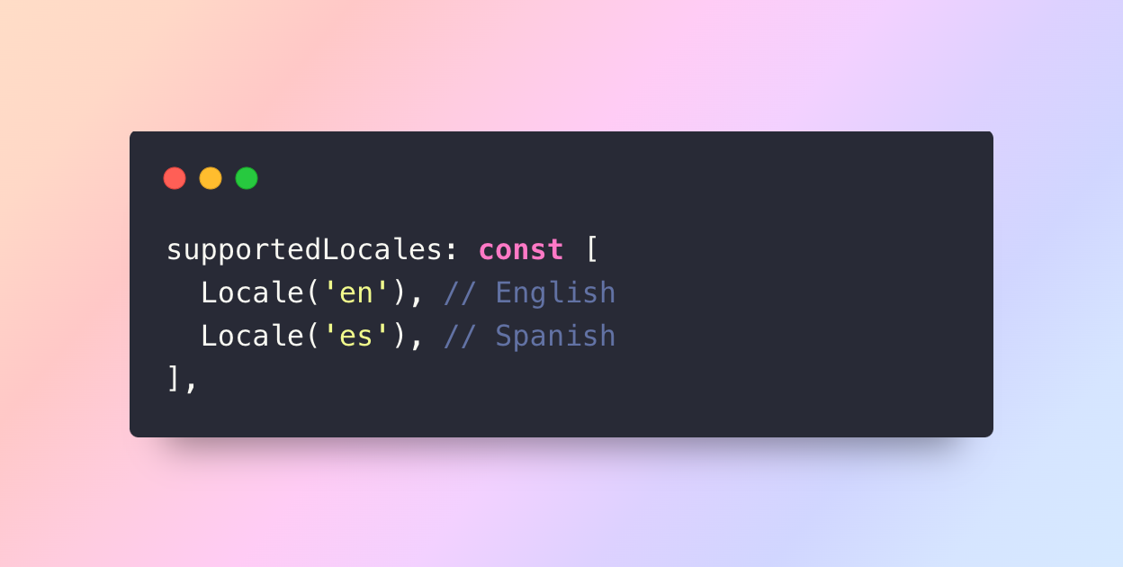
- Update the supportedLocales property of your MaterialApp to include all the locales you want to support. These locales should match the languages in your ARB files.
8. Testing the Localization
- Now, you can run your app and test the localization by switching between English and Spanish.
Conclusion
Flutter’s localization framework, in combination with the intl package, provides a powerful toolset for building multilingual applications. With a few configurations and the right setup, you can make your app accessible to users across the globe, enhancing user experience and expanding your app’s reach.
Localization is a critical aspect of modern app development. By localizing your Flutter app, you not only improve accessibility but also show your commitment to delivering a personalized experience to all users, regardless of language or location.
Happy coding!

