
Ultimate Guide to Deploying Code on Adobe Commerce Cloud
Our previous blog detailed the process of setting up our environment for code deployment. In this blog, we will focus on how to deploy code changes. To avoid straying from our main topic, we will not demonstrate the development of the module. Instead, we will use a premade custom module as an example.
Local Development and Testing
As we mentioned, in our previous blog, you can create a directory of your own choice and install the Magento. Let’s say we named the directory ttn-local-env. The next steps would be,
- To develop a new module. (We developed a simple module for demo purposes, which displays the text “Hello from TTN Team!!!”)
- Once you are ready with the code to deploy, build and deploy it on the local magento server using the following commands,
php bin/magento setup:upgrade
php bin/magento cache:flush
You should be able to see the changes you developed.
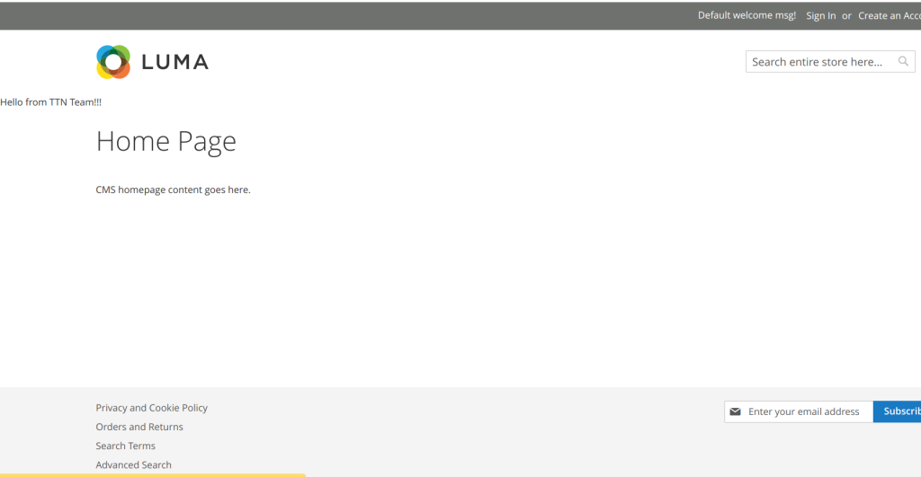
Local Env
Sync the Cloud Dev environment
If the changes on the local dev environment look good, we can bring the cloud dev server up to sync. We have developed our code in ttn-local-env directory, to commit and push the changes
- We will copy over only the changed code files to the dev (under /var/www/html/<cloud-folder>) directory.
- Commit and push the changes on the dev branch.
- Test and verify the same changes on the cloud dev environment too.
Progress the changes to higher environments
Now that you have validated the changes and are ready for a higher environment. Let’s go ahead and push the changes on the Stage.
- To merge the dev changes, we will first checkout on the Stage branch, and take a pull of the dev branch.
- Finally using the git push command we will deploy the changes on the Stage environment.
Similarly, the same steps are to be followed for the Master environment and the Master branch. The only difference in this case would be that, instead of merging the dev branch to the master branch, you will merge the stage branch to the master. And use the same git push command to deploy the master branch.
After doing those changes, your changes will be live, and you can verify them on the master environment.
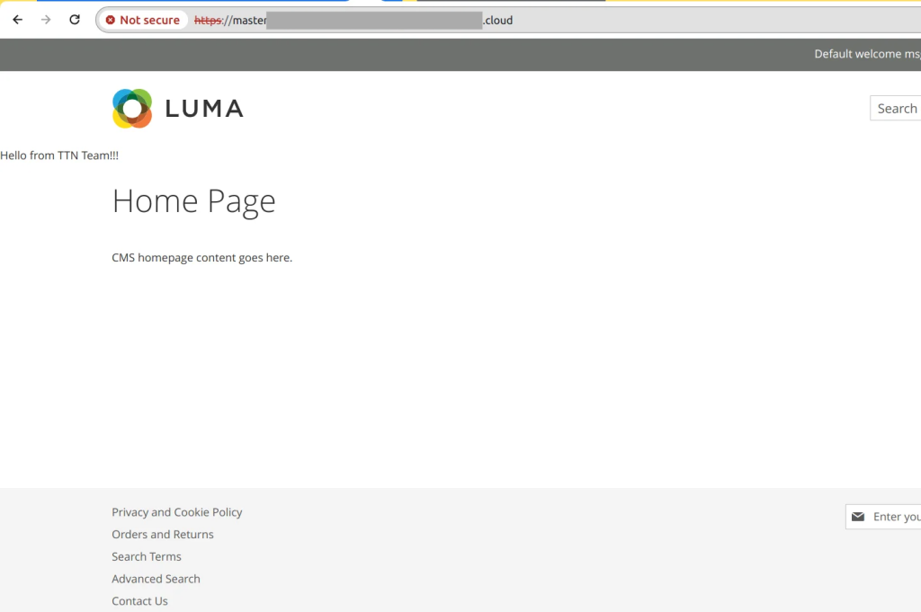
Master Env
With this, we conclude with our deployment and 2 part blog series where in the first part we covered how to set up Adobe Commerce on the Cloud. And, in the second part, we saw how we can deploy the code changes.
